5 Chickpea Recipes You Can Try For A More Menopause Friendly Week


Chickpeas are little gems when it comes to nutrition in menopause. Each bite packs a dynamite explosion of goodness without compromising on pleasure. That’s why I have a range of chickpea recipes that satisfy, delight and reduce menopause symptoms.
So, with that in mind, let’s look at the humble chickpea and 5 of my absolute favourite chickpea recipes that you can try this week.
Are chickpea recipes healthy?
For the most part, chickpea recipes tend to be healthy. However, it’s all about knowing what you’re putting in your food.
Salads, for example, have a reputation for being super healthy. However, if you load it with unhealthy ingredients, it loses nutritional value.
To avoid any confusion, I’ve collected and curated the best chickpea recipes over the years. All of these recipes are healthy, delicious and will aid with menopause and perimenopause symptoms.
Why are chickpeas good for menopause?
Chickpeas are great for perimenopause and menopause because they’re high in isoflavones, daidzein and genistein. This is the golden trio, working together to push your menopause symptoms to the side.
One study actually discovered that eating 50g of boiled chickpeas every day significantly reduced menopause symptoms.
On top of this, other studies discovered that chickpeas help to activate oestrogen receptors, boosting your lower level of oestrogen’s ability.
There’s a solid reason why I, as a Menopause Nutritionist, often recommend chickpea recipes for anyone experiencing symptoms such as vaginal dryness and itching, hot flashes and night sweats, brain fog and fatigue.
Chickpea recipes you can try this week
Chickpeas can be utterly delicious and act as a great flavour carrier. But you’ve got to get it right for a delight in every bite.
With that in mind, let’s take a look at my 5 top chickpea recipes so that you can give them a whirl this week.
1. Chickpea burger
One of my most popular chickpea recipes is the humble chickpea burger. Not only is this vegetarian but it’s also a huge crowd-pleaser, making them an ideal mid-week family dinner.
An added bonus? You can bring them along to the summer BBQs!

Why I love this chickpea burger recipe
This delicious chickpea and coriander burger recipe boosts your fibre intake while keeping the fat as low as possible.
It’s super versatile, making this one of the chickpea recipes that lends itself to lunch, family dinners or BBQs.
Plus, it’s extremely quick to make, on the table in less than half an hour.
Chickpea burger ingredients
This recipe serves 4.
For this chickpea burger recipe, you’ll need:
- 1 can of chickpeas, drained (400g)
- The zest of 1 lemon plus juice of half a lemon
- A bunch of roughly chopped coriander
- 1 egg
- 1 red onion, half diced and half sliced
- 4 wholemeal burger buns
- 1 sliced tomato
- 1/2 a sliced cucumber
- Your choice of condiments
- Breadcrumbs (100g)
- 1 teaspoon of ground cumin
You can, of course, add your favourite burger toppings. Lettuce, cheese, sauces – make it your own!
Chickpea burger recipe
This is one of the easiest chickpea recipes on my list and is pretty fool-proof! Get this delicious treat on the table by:
- Add your chickpeas, coriander and egg to a food processor.
- Add your lemon (zest and juice), cumin, salt and pepper to the same mixture and blitz.
- Pop your blitzed up ingredients into a large mixing bowl before mixing in 80g of your breadcrumbs and diced red onions. Mix well.
- Using your hands, create 4 burgers out of your mixture. Use the left-over breadcrumbs by adding them to the outside of your patties.
- Pop them into the fridge for a little while. You don’t want them to be warm for the next step. Ten minutes is the absolute minimum, but an hour is preferable if you have the time.
- After your patties have cooled, heat up olive oil in a frying pan. Make sure the oil is hot.
- Add your patties to the frying pan and reduce the heat to medium.
- Fry your chickpea burgers for around 4 to 5 minutes per side.
- While your chickpea burgers are cooking, slice your buns and fill them with your preferred filling. Tomatoes, red onion, cucumber.
- Transfer your burgers into their buns, topping with coriander and your choice of condiment.
And that’s it! One of the simplest chickpea recipes that will make every member of the family smile while helping you to reduce the severity of your menopause symptoms. Everyone wins.
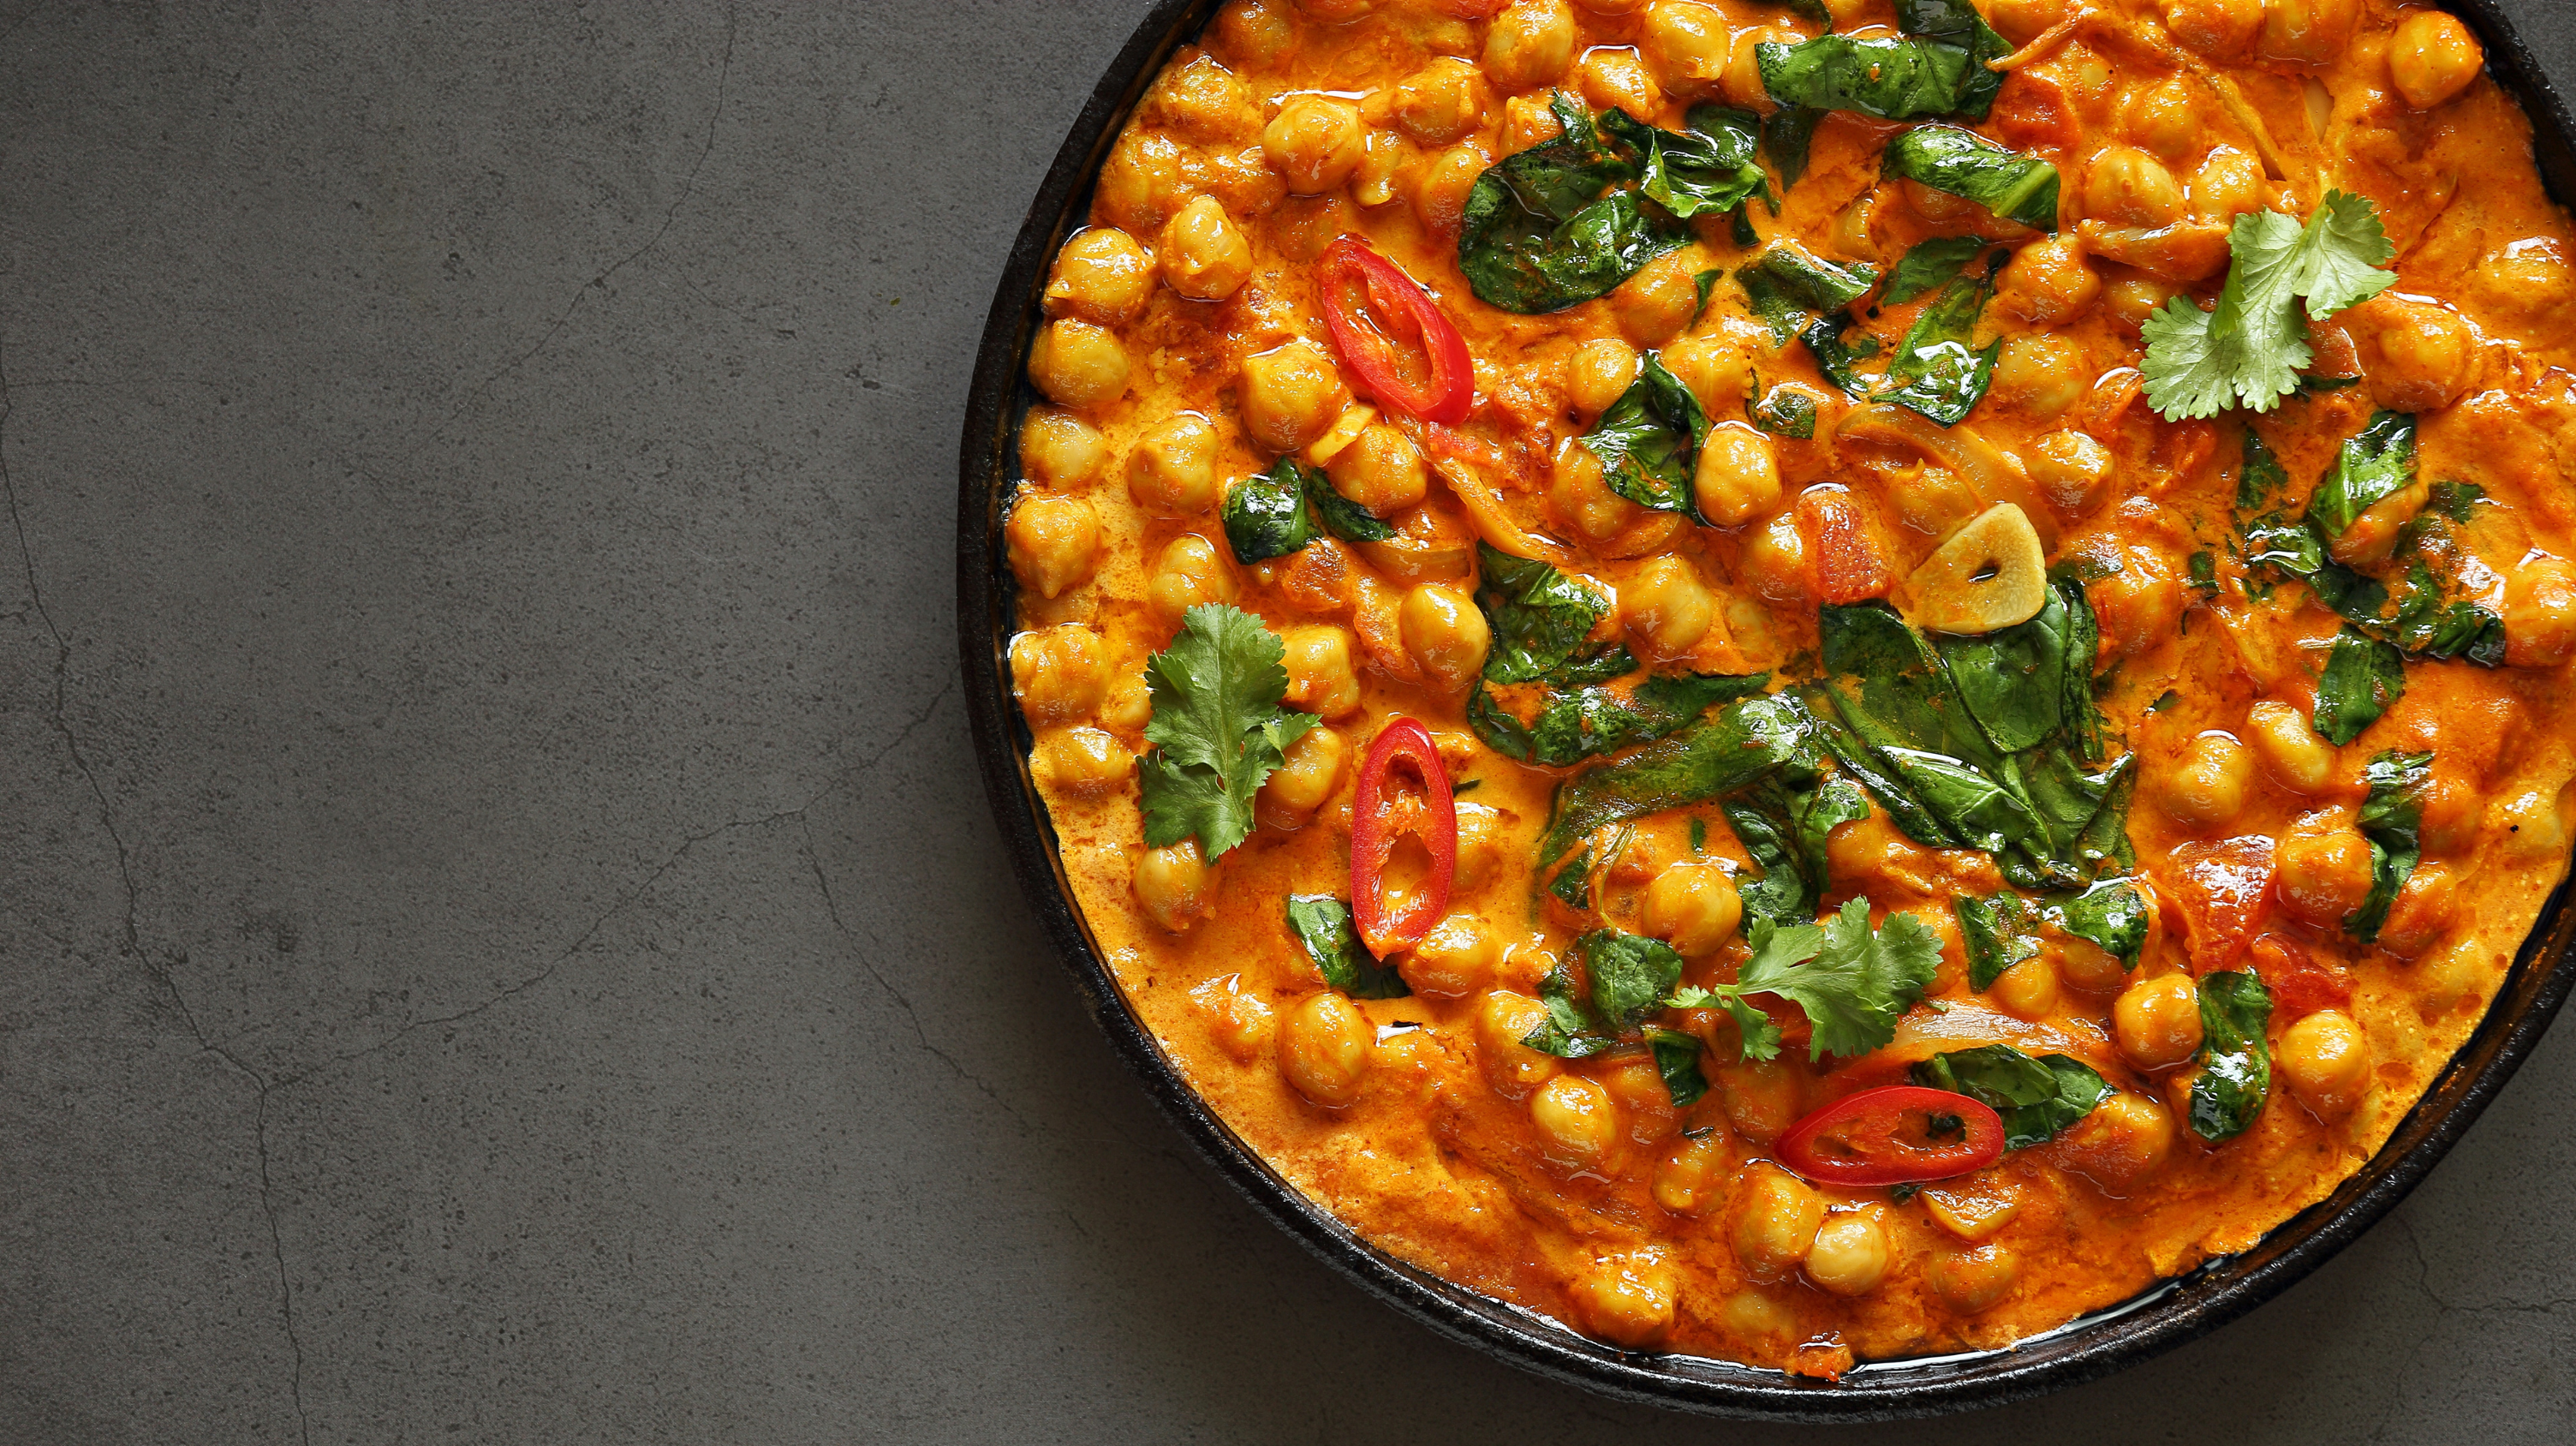
2. Chickpea and spinach curry
Delicious, filling, budget friendly, vegan and menopause symptom slayer – need I say more?
This chickpea and spinach curry recipe has become a family favourite, with aunts and uncles begging for the recipe for years.
The only thing is – once you make this, you’ll be nagged to make it all the time. So, proceed at your own risk.

Why I love this chickpea and spinach curry recipe
This chickpea and spinach curry is a real crowd pleaser and can be adapted to suit different tastes. If you prefer spice, simply add some chillies. However, if you’re struggling with hot flashes and night sweats, I’d recommend leaving the spice alone. Chilli heat can trigger flashes, after all.
Not to mention, the ingredients are all budget-friendly, too, allowing the entire family to eat tasty and nutritious food without breaking the bank.
Chickpea and spinach curry ingredients
To make four servings of this chickpea and spinach curry, you will need:
- Vegetables:
- 1 large onion, finely chopped
- 4 cloves of garlic, crushed or grated
- Ginger, around 1 inch, finely grated
- 1 can of tinned tomatoes, finely chopped (Mutti tomatoes are best for this!)
- Spinach – fresh or frozen, 100g
- Herbs, spices and cooking ingredients:
- Ground coriander, 1 tablespoon
- Ground cumin, half a tablespoon
- Turmeric, half a tablespoon
- Cayenne pepper or chilli flakes, to your liking – start with under half a teaspoon
- Garam masala, 1 teaspoon
- A bunch of coriander, chopped
- Olive oil, 3 tablespoons
- Vegetable stock, 120ml
- Honey, 1 teaspoon for sweetness
- Lemon juice, 1 teaspoon
- Other:
- Cooked chickpeas, 400g
- Coconut milk (optional), 1 can
- Salt and pepper for seasoning
Chickpea and spinach curry recipe
While this is one of the more fussy chickpea recipes on this list due to the higher number of ingredients, it’s actually simple to make and contains a huge depth of flavour. So, here’s how to make it from start to finish:
- Heat up your olive oil in a large saucepan. You want your heat to be on medium high before adding the chopped onions. If they catch, add a tiny bit of water.
- Once your onions have gone golden, add your garlic and ginger to the pan. You’ll want to cook these for 2 minutes, making sure to stir frequently to avoid burning.
- Now, add your ground coriander, cayenne pepper or chilli flakes, turmeric and ground cumin. Toast these spices for two minutes, stirring frequently. Feel free to lower the heat if need be.
- After your spices have been toasted, add your crushed tomatoes, chickpeas and vegetable stock to the pan. Now’s the time to increase the heat and get your curry to a boil.
- After reaching a boil, lower the heat to medium-low and simmer your curry for around 10 minutes, making sure to stir it every now and then.
- Add your spinach. If you’re using frozen spinach, increase the heat a little until your curry is boiling and simmer for an extra 5 or 6 minutes. If it’s fresh, you don’t need to change the heat.
- Add your salt, pepper and honey. Allow it to simmer for 5 minutes.
- Finally, add your garam masala and lemon juice. If you’re using coconut milk, now’s the time to add that in too. Cook for 2 minutes.
- Serve your curry over brown rice and top with fresh coriander.
Indian spiced air fryer cauliflower is a great side dish to this chickpea recipe!
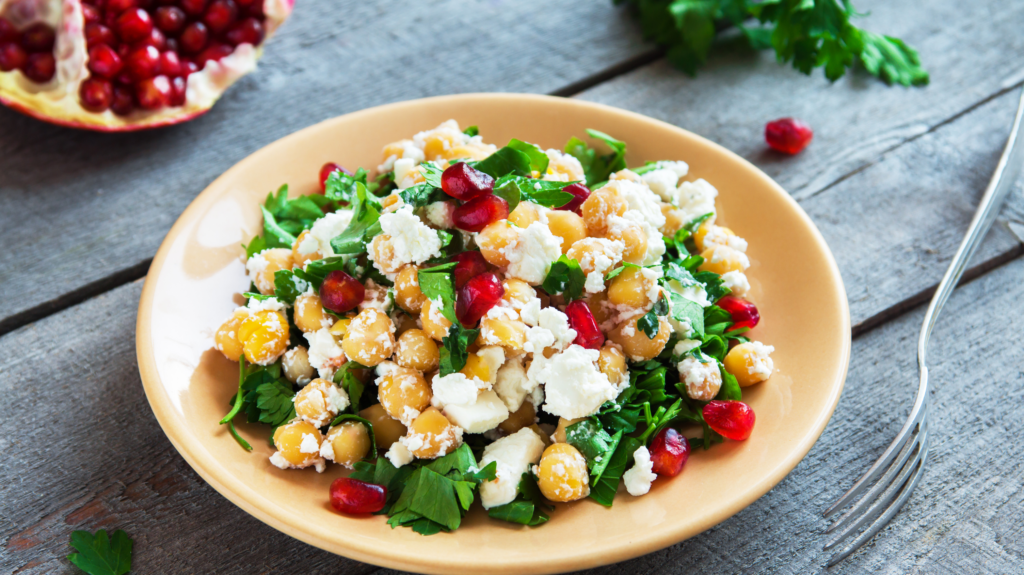
3. Chickpea salad
Light, quick and easy to make, this is one of my favourite lunch time summer chickpea recipes.
If ease and speed wasn’t reason enough to give this chickpea salad a go, it also travels well for work and it’s vegetarian. Swap your lettuce for chickpeas this week and you’ll feel fuller, more satisfied and experience less severe menopause symptoms.
Why I love this chickpea salad recipe
This chickpea salad recipe contains some of the best ingredients to fight against perimenopause and menopause symptoms. And it does it all while delivering a punch of flavour and satisfaction.
It takes less than half an hour to prepare, making it a great salad to prep for work or an easy dinner.
Chickpea salad ingredients
This chickpea salad serves 4. Whether you keep it in the fridge for lunch or share it with the family is totally up to you. To make it, you’ll need:
- Chickpeas, 1 tin, drained and then rinsed (400g)
- Tomatoes, x4 – chopped and fresh
- Roasted bell peppers, x2, chopped
- Spinach, 2 or 3 big handfuls
- Feta cheese
- Basil, fresh and not dried
- Olive oil, 2 tablespoons
- Cider vinegar, 1 tablespoon
- Lime juice, half a lime
Chickpea salad recipe
This chickpea salad recipe couldn’t be easier. It’s ready in just 4 steps:
- In a big mixing bowl, pop in your chickpeas, roasted peppers, spinach and tomatoes. Give them a little mix.
- Sprinkle in your feta cheese and basil.
- Make your dressing by whisking olive oil, cider vinegar and your juice from half a lime in a smaller bowl.
- Pour the dressing on top of your salad and toss.
And that’s it! Delicious, nutritious and you’ll want every salad to be chickpea based from the first bite.
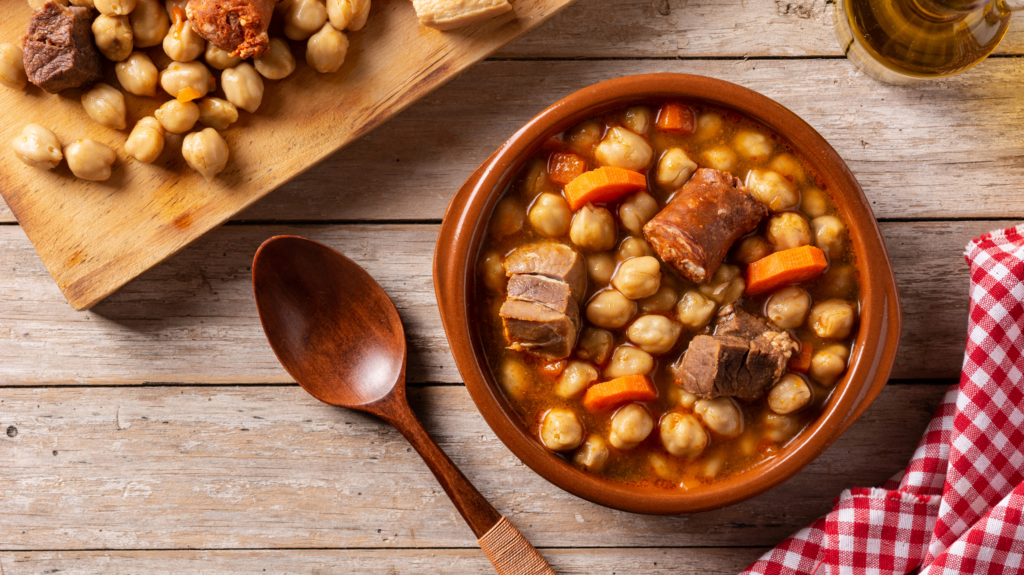
4. Chorizo and chickpea stew
I don’t need to tell you how much I love the Mediterranean diet. That’s why this Spanish chickpea and chorizo stew recipe is like a warm hug every single time.
Why I love this chorizo and chickpea stew recipe
This is one of the most comforting chickpea recipes out there. Full of Spanish charm and flavour, it can be mopped up with crusty bread, which the kids (and I) love.
Not to mention, this chorizo and chickpea stew will keep well in the freezer for two months, making it an excellent choice for batch-cooking.
Chorizo and chickpea stew ingredients
I guarantee that this will be one of your favourite chickpea recipes after you’ve made it. You don’t need a lot of meat, either, and if you’re vegetarian, you can leave it out altogether.
For this recipe, you’ll need:
- Olive oil, 1 tablespoon
- Onion, 1 mid-sized and finely sliced
- Garlic, 2 cloves – sliced rather than diced
- Chorizo, 75g, cut into slices
- Chopped tomatoes, 1 tin
- Chickpeas, 1 tin or 400g
- Curly kale, 75g – shredded and tougher stalks removed
- Tomato puree, 2 tablespoons
- Smoked paprika, 1 teaspoon
- Ground cumin, half a teaspoon
- Fresh parsley, torn or chopped
- Crusty bread, to serve
Chorizo and chickpea stew recipe
Make this Spanish chorizo and chickpea stew recipe by following the steps.
- In a large saucepan over medium heat, add your olive oil. Once it’s hot, add your onion and garlic, cooking gently for 2 or 3 minutes. Stir every now and again. You’ll know it’s ready when your onion has softened but isn’t brown yet.
- Add your slices of chorizo, smoked paprika and ground cumin to the pan. Continue cooking for around 2 minutes.
- Now, add your tinned tomatoes and tomato puree. Cook for 2 minutes.
- Add freshly boiled water (200ml) to your pan and stir well. Bring your mixture to a boil and then reduce the heat to a simmer.
- Add your drained chickpeas to your saucepan and stir. Continue the simmer for around 10 minutes, stirring occasionally. The liquid in the pan should have reduced by around 50%.
- When you’re about 3 minutes away from serving, add your curly kale to the pan. Simmer it for 2 minutes.
- Taste your stew, adding salt and pepper to your liking.
- Serve the stew in bowls, topping it with fresh parsley and serving with crusty bread.
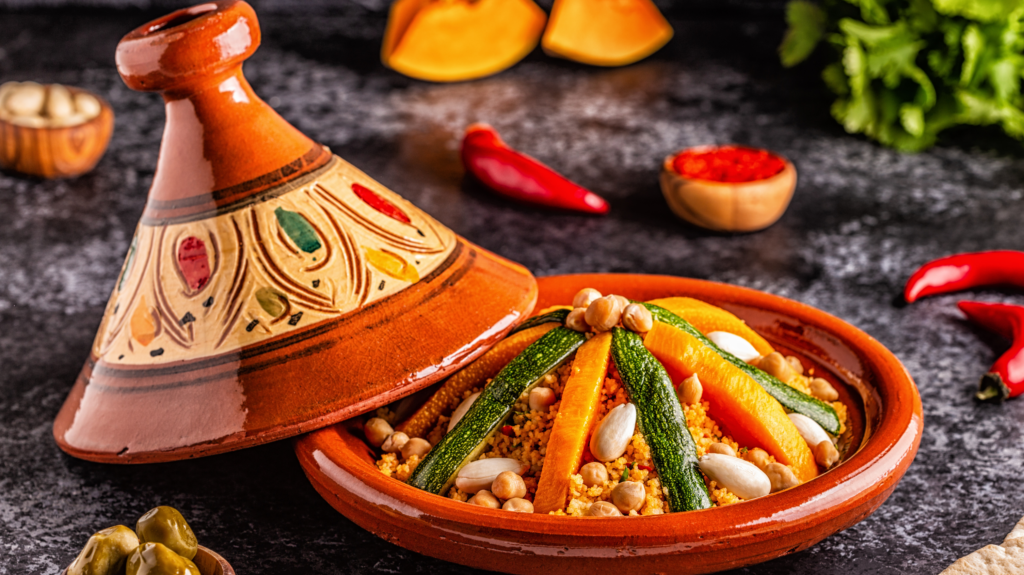
5. Slow cooked chickpea tagine
The last on our list of chickpea recipes is this delicious chickpea tagine. Bonus points: you can use a slow cooker!
Why I love this slow cooked chickpea tagine recipe
I love slow cooker recipes because they are so convenient. You don’t have to stand behind a hot stove for hours. Simply chuck things in the slow cooker and get on with your day, knowing you have a dish packed with flavour waiting for you.
This is a great recipe, too, because you can experiment with it. Serve it with bread, with couscous or potatoes – the choice is yours.
Finally, this is a vegetarian recipe. If you’re a meat-eater, trust me when I say: you won’t miss the meat.
Slow cooker chickpea tagine ingredients
You may need a few more ingredients for this recipe, but the fact that it’s all thrown into a slow cooker more than makes up for it.
So, make sure you add the following ingredients to your online shop:
- Chickpeas, 1 tin or 400g, rinsed and drained well
- 1 red bell pepper, deseeded and sliced into thick slices
- 1 white onion, chopped
- 1 butternut squash, peeled, deseeded and cut into pieces
- 2 courgettes, cut into pieces
- 1 carton (or 500g) of passata
- 12 dried apricots
- 2 garlic cloves, crushed or grated
- Greek yoghurt for serving (optional)
- Herbs, spices and other cooking ingredients:
- Paprika, 2 teaspoons
- Ground ginger, 1 teaspoon
- Ground cumin, 1 teaspoon
- Harissa paste, 1 teaspoon
- Fresh mint or coriander for serving
- Honey, 2 teaspoons
Slow cooker chickpea tagine recipe
Four hours should be plenty for this slow cooker recipe. Simply follow the steps:
- Into your slow cooker, add your chickpeas, onion, pepper slices, squash, courgettes and dried apricots. Season your ingredients with salt and pepper.
- In a frying pan, heat your olive oil and fry off your garlic and spices until they are fragrant. This shouldn’t take more than a minute.
- To your frying pan, add your passata, harissa and honey. Bring it to a boil.
- Once boiling, remove the frying pan from the heat and pour the sauce over your ingredients in your slow cooker. Pop the lid on, set it on “high” and get on with your day for around 4 hours.
- Taste your mixture, adding salt and pepper as needed. Once you’re ready to serve, tear in your coriander or mint and stir them through, scattering any remaining fresh herbs on top.
- Serve on top of couscous, rice or potatoes.
- Add a little drizzle of runny honey on top of your chickpea tagine before topping it with your Greek yoghurt.
The slow cooking process helps bring out a depth of flavour and allows you to relax, knowing that dinner is good to go without the need to stand over a hot hob!
Chickpea recipes – in a nutshell
Whether you make them into a burger, a curry, a salad, a stew or a tagine, these chickpea recipes are crowd pleasers for a reason.
Not only are chickpeas delicious and excellent carriers of flavour, they’re also budget friendly. If that wasn’t enough, chickpeas are excellent foods to battle against menopause symptoms.
So, give these chickpea recipes a whirl over the next few weeks. You and your family are in for a treat! Just remember to let me know how they were received in the comment section below.
Happy cooking. All hail the humble chickpea!
Leave a Reply
- free ebook alert -
WHAT TO EXPECT WHEN YOU’RE
going through the menopause
Demystify your understanding of what’s happening to you. Arm yourself with solid, game-changing information to support you through this challenging phase of your life.
grab your copy now →
WHAT TO EXPECT WHEN YOU’RE
going through the menopause